

Ultra Quartz pool plaster: 30-day start-up guide
The water chemistry we require for Ultra Quartz™ pool plaster, and a day-by-day start-up guide for the first 28 days, when the finish is most vulnerable.
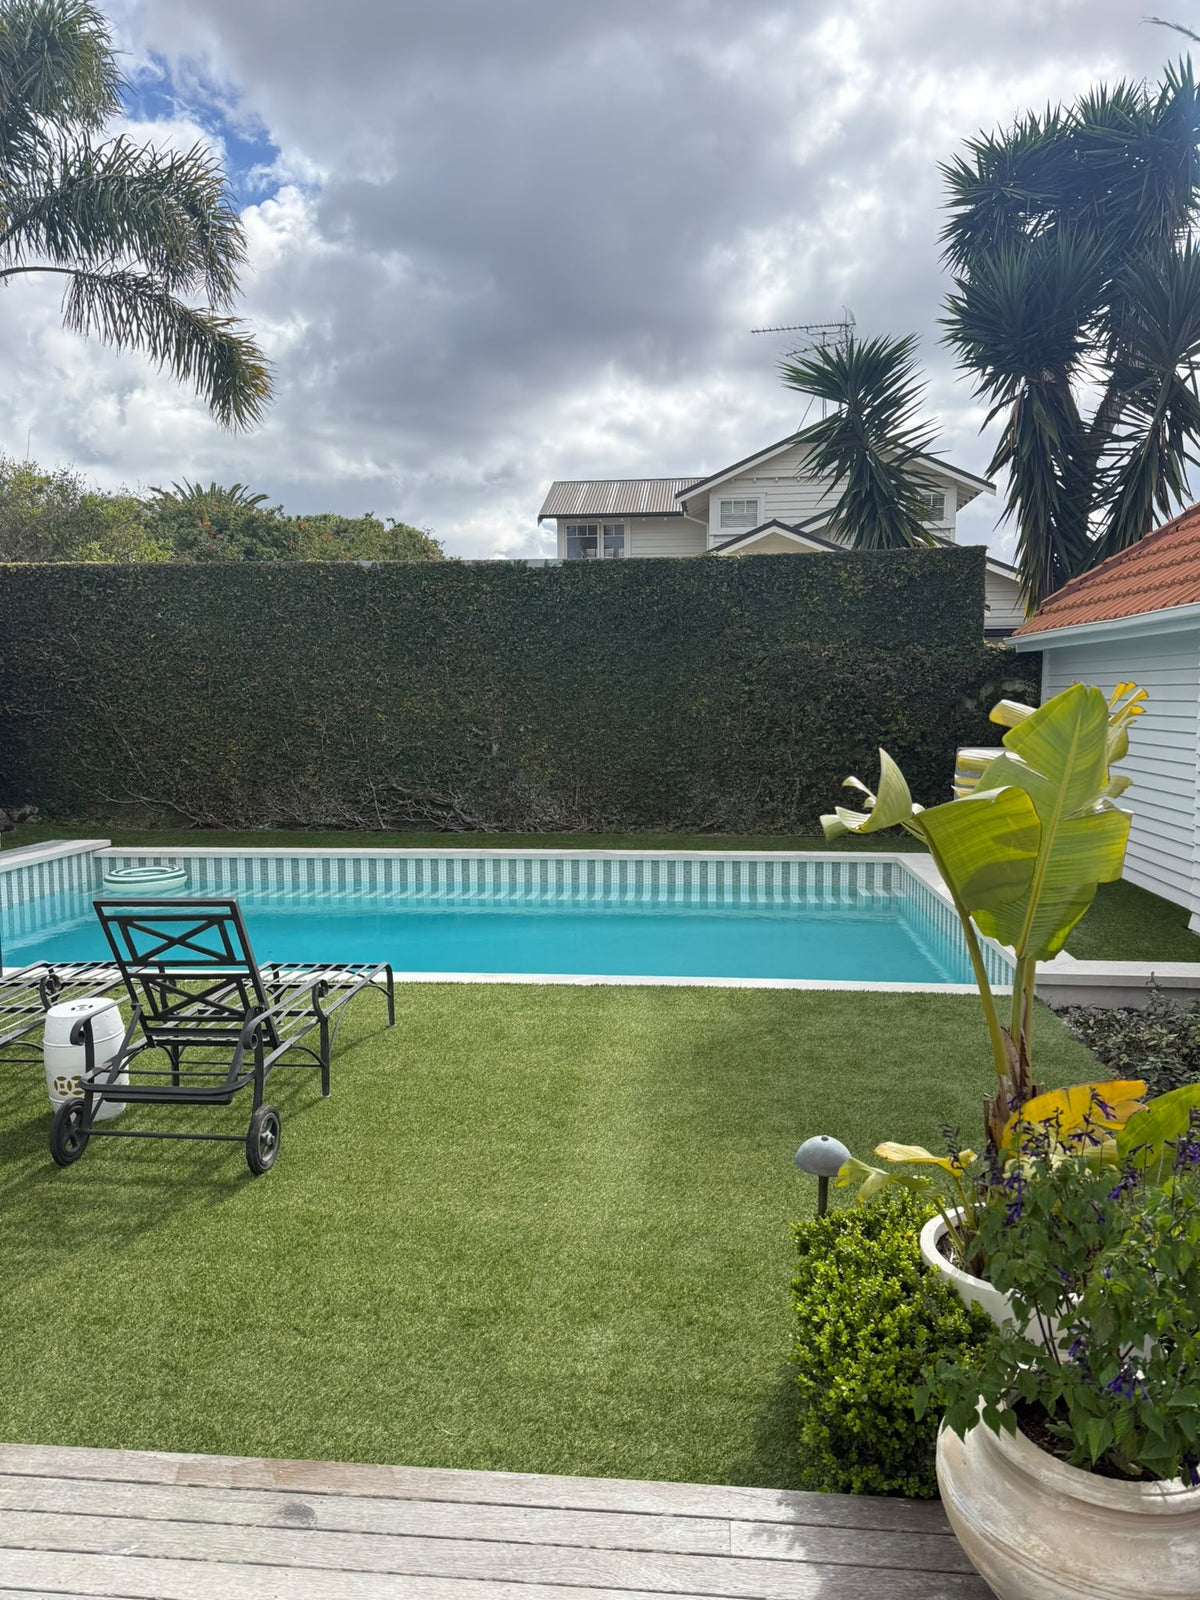
A new pool plaster finish starts to cure (hydrate) as soon as it is mixed, and most of that curing happens in the first 28 days. This is when the finish is most likely to stain, scale or discolour, so careful brushing and water balancing during start-up is essential.
When you choose Ultra Quartz™ from SSL, our team works with you and your pool builder through the start-up process. This guide sets out the water chemistry we require and the industry-standard start-up procedure, so you know what to expect each day.
Always add chemicals to water, never water to chemicals. Pre-dilute chemicals in a clean bucket (about 20L) of pool water before adding them.
Pool water chemistry
It is necessary for the longevity of the Ultra Quartz pool plaster system, and as a condition of the warranty, that the following chemical parameters are maintained.
| Test | Required range |
|---|---|
| Chlorine (CL) | 1.0 – 3.0 ppm |
| pH | 7.4 – 7.6 |
| Total Alkalinity (TA) | 80 – 100 ppm |
| Calcium Hardness (CH) | 200 – 400 ppm (demand dependent on water temperature) |
| Cyanuric Acid (CYA) | Less than 50 ppm |
| Sequestering agent | Dosage to suit pool water volume, with a weekly top-up if required. Check the brand's recommendations for dosage. |
- If calcium levels exceed normal parameters, alkalinity and pH adjustments must be made.
- Before filling the pool, the water must be tested and adjusted to the above so it does not affect the new plaster finish.
- It is normal for calcium levels to rise steadily during the first 7 days of the curing process, but the level should be kept as close to 200 ppm as possible during days 3 to 5.
- Water test results should be checked through an online LSI calculator to ensure the pool water is in the best possible condition.
- The initial pool start-up should follow sound technical practice, as set out in the NPT / NPC start-up procedure, summarised below.
- For helpful tips and dosing, use the Orenda pool dosing calculator.

Before you start
- Follow every step in order. Don't skip ahead.
- No shock treatment for the first 30 days.
- No swimming until the water is balanced.
- Don't run a pool heater until all plaster dust is removed, typically between day 4 and day 10.
- Don't use wheeled devices, built-in or robotic automatic cleaners, or chemical feeders (other than ORP and pH controllers) for the first 28 days. They can damage the finish or clog with plaster dust.
- Salt pools: no salt is added during the first 28 days. Waiting up to 6 weeks before adding salt may be beneficial.
What you'll need
- A test kit for pH, total alkalinity, calcium hardness, cyanuric acid and chlorine
- A quality pole, net and soft nylon brush
- An LSI calculator or app
- Pool acid (hydrochloric acid), sodium bicarbonate, calcium hardness increaser (calcium chloride), sequestering agent, chlorine and stabiliser. Pool Lab supplies are available from us.
Fill day preparation
- Filling usually takes 18 to 36 hours. Don't stop once you've started, or a visible line can form on the finish.
- To avoid overflowing overnight, reduce the water flow so the pool fills more slowly, but don't stop it.
- Check the filtration equipment is working.
- Remove floor return heads and directional eyeballs if the SSL team recommends it for your pool.
- Test the fill water before you start and record the results, adjusting it to the required parameters above.
- Wrap a clean rag around the end of the hose, or attach a floating water bottle, to protect the surface.
- Don't let the finish dry out before it is under water.
- If you have a spa, make sure it doesn't drain into the pool.
- Keep people and pets out of the pool.
Fill day
- Fill to the middle of the skimmer (or the specified level) continuously and as quickly as practical, using clean drinking-quality water. Keep the protected hose end in the deepest part of the pool. If water is trucked in, put about 60cm of water in the deep end first as a cushion.
- Keep people and pets out while it fills, as footprints can mark the finish. Keep other water sources out, as residual water can stain.
- Test the water for pH, alkalinity, calcium hardness and metals, and record the results. An LSI app helps you track them.
- Start the filtration as soon as the water reaches the middle of the skimmer.
Day 1
- Test pH, alkalinity, calcium hardness and metals, and record the results.
- High alkalinity: bring it down to 80 ppm with pre-diluted pool acid.
- Low alkalinity: bring it up to 80 ppm with sodium bicarbonate.
- pH: once alkalinity is 80 to 100 ppm, bring pH to 7.4 to 7.6 with pre-diluted pool acid.
- Brush the entire surface, starting at the top of the walls and working down, from the shallow end to the deep end. Brush at least twice a day.
- Add a quality sequestering agent at the manufacturer's start-up dose, pre-diluted, then continue with the maintenance dose. This helps prevent metal staining.
- Run the filtration continuously for at least 72 hours.
- Don't add chlorine for 48 hours. Don't run the heater until there is no plaster dust in the pool.
Day 2
- Test pH, alkalinity and calcium hardness, and repeat the Day 1 steps (except the sequestering agent).
- Once alkalinity and pH are on target, raise calcium hardness to at least 150 ppm, working towards 200 ppm. Large calcium chloride additions (more than about 9kg) should be pre-diluted and added in batches of about 4.5kg, morning and afternoon.
- Brush the entire surface thoroughly at least twice a day.
Day 3
- Test pH, alkalinity and calcium hardness, and repeat Day 1 steps 1 to 5.
- Add pre-diluted chlorine to reach 1.0 to 3.0 ppm.
- Keep calcium hardness as close to 200 ppm as possible from day 3 to day 5.
- Brush the entire surface thoroughly at least twice a day.
Days 4 to 28
- For the first 14 days, test pH, carbonate alkalinity and calcium hardness daily, and repeat Day 1 steps 1 to 5. Carbonate (corrected) alkalinity = total alkalinity minus one third of the cyanuric acid reading.
- Calcium will rise naturally as the plaster cures, especially in the first 7 days. If it rises above the normal range, adjust alkalinity and pH to keep the water balanced.
- After day 4, bring cyanuric acid (stabiliser) up slowly, keeping it below 50 ppm. Pre-dissolve it and add it through the skimmer.
- On day 7, if any plaster dust remains, remove it with a brush pool vacuum.
- Keep checking your results with an LSI calculator.
After 28 days: everyday care
- Keep the water within the required parameters above, and the LSI between 0.0 and +0.3.
- Below 0, water can leach, etch and discolour the surface. Above +0.3, it can scale and discolour it.
- Automatic and robotic cleaners can be used once the 28 days are complete.
- Salt pools can now have salt added, ideally waiting up to 6 weeks.
- Test regularly, and top up the sequestering agent weekly if required.

The Langelier Saturation Index (LSI)
The LSI tells you whether your water is balanced. Below 0, the water is corrosive and can etch, leach and discolour plaster. Above 0, it tends to deposit scale. Keeping it between 0.0 and +0.3 protects the finish.
LSI = pH + alkalinity factor + calcium hardness factor + temperature factor − TDS factor
Use the factor closest to your reading.
| Carbonate alkalinity (ppm) | Factor | Calcium hardness (ppm) | Factor | Water temp | Factor | TDS (ppm) | Factor |
|---|---|---|---|---|---|---|---|
| 5 | 0.7 | 75 | 1.5 | 0°C | 0.0 | up to 1,000 | 12.10 |
| 25 | 1.4 | 100 | 1.6 | 3°C | 0.1 | 1,000 | 12.19 |
| 50 | 1.7 | 150 | 1.8 | 8°C | 0.2 | 2,000 | 12.29 |
| 75 | 1.9 | 200 | 1.9 | 12°C | 0.3 | 3,000 | 12.35 |
| 100 | 2.0 | 300 | 2.1 | 16°C | 0.4 | 4,000 | 12.41 |
| 125 | 2.1 | 400 | 2.2 | 19°C | 0.5 | 5,000 | 12.44 |
| 150 | 2.2 | 800 | 2.5 | 24°C | 0.6 | ||
| 200 | 2.3 | 1,000 | 2.6 | 29°C | 0.7 | ||
| 300 | 2.5 | 34°C | 0.8 | ||||
| 400 | 2.6 | 41°C | 0.9 |
Example: pH 7.8, alkalinity 125 ppm (2.1), calcium hardness 300 ppm (2.1), water at 32°C (about 0.8) and TDS 950 ppm (12.1). LSI = 7.8 + 2.1 + 2.1 + 0.8 − 12.1 = +0.7, which means the water is likely to scale. Lowering the pH to about 7.4 brings it back to +0.3.
Questions during start-up?
Call the SSL team on 0800 446 378 at any point during start-up. Keep a written log of your test results and any chemicals you add. It makes it much easier for us to help if something doesn't look right. See also common pool plaster problems and how to avoid them.
Start-up procedure based on the National Plasterers Council (NPC) procedure, as published by NPT. These procedures are sound technical practice and are advisory.